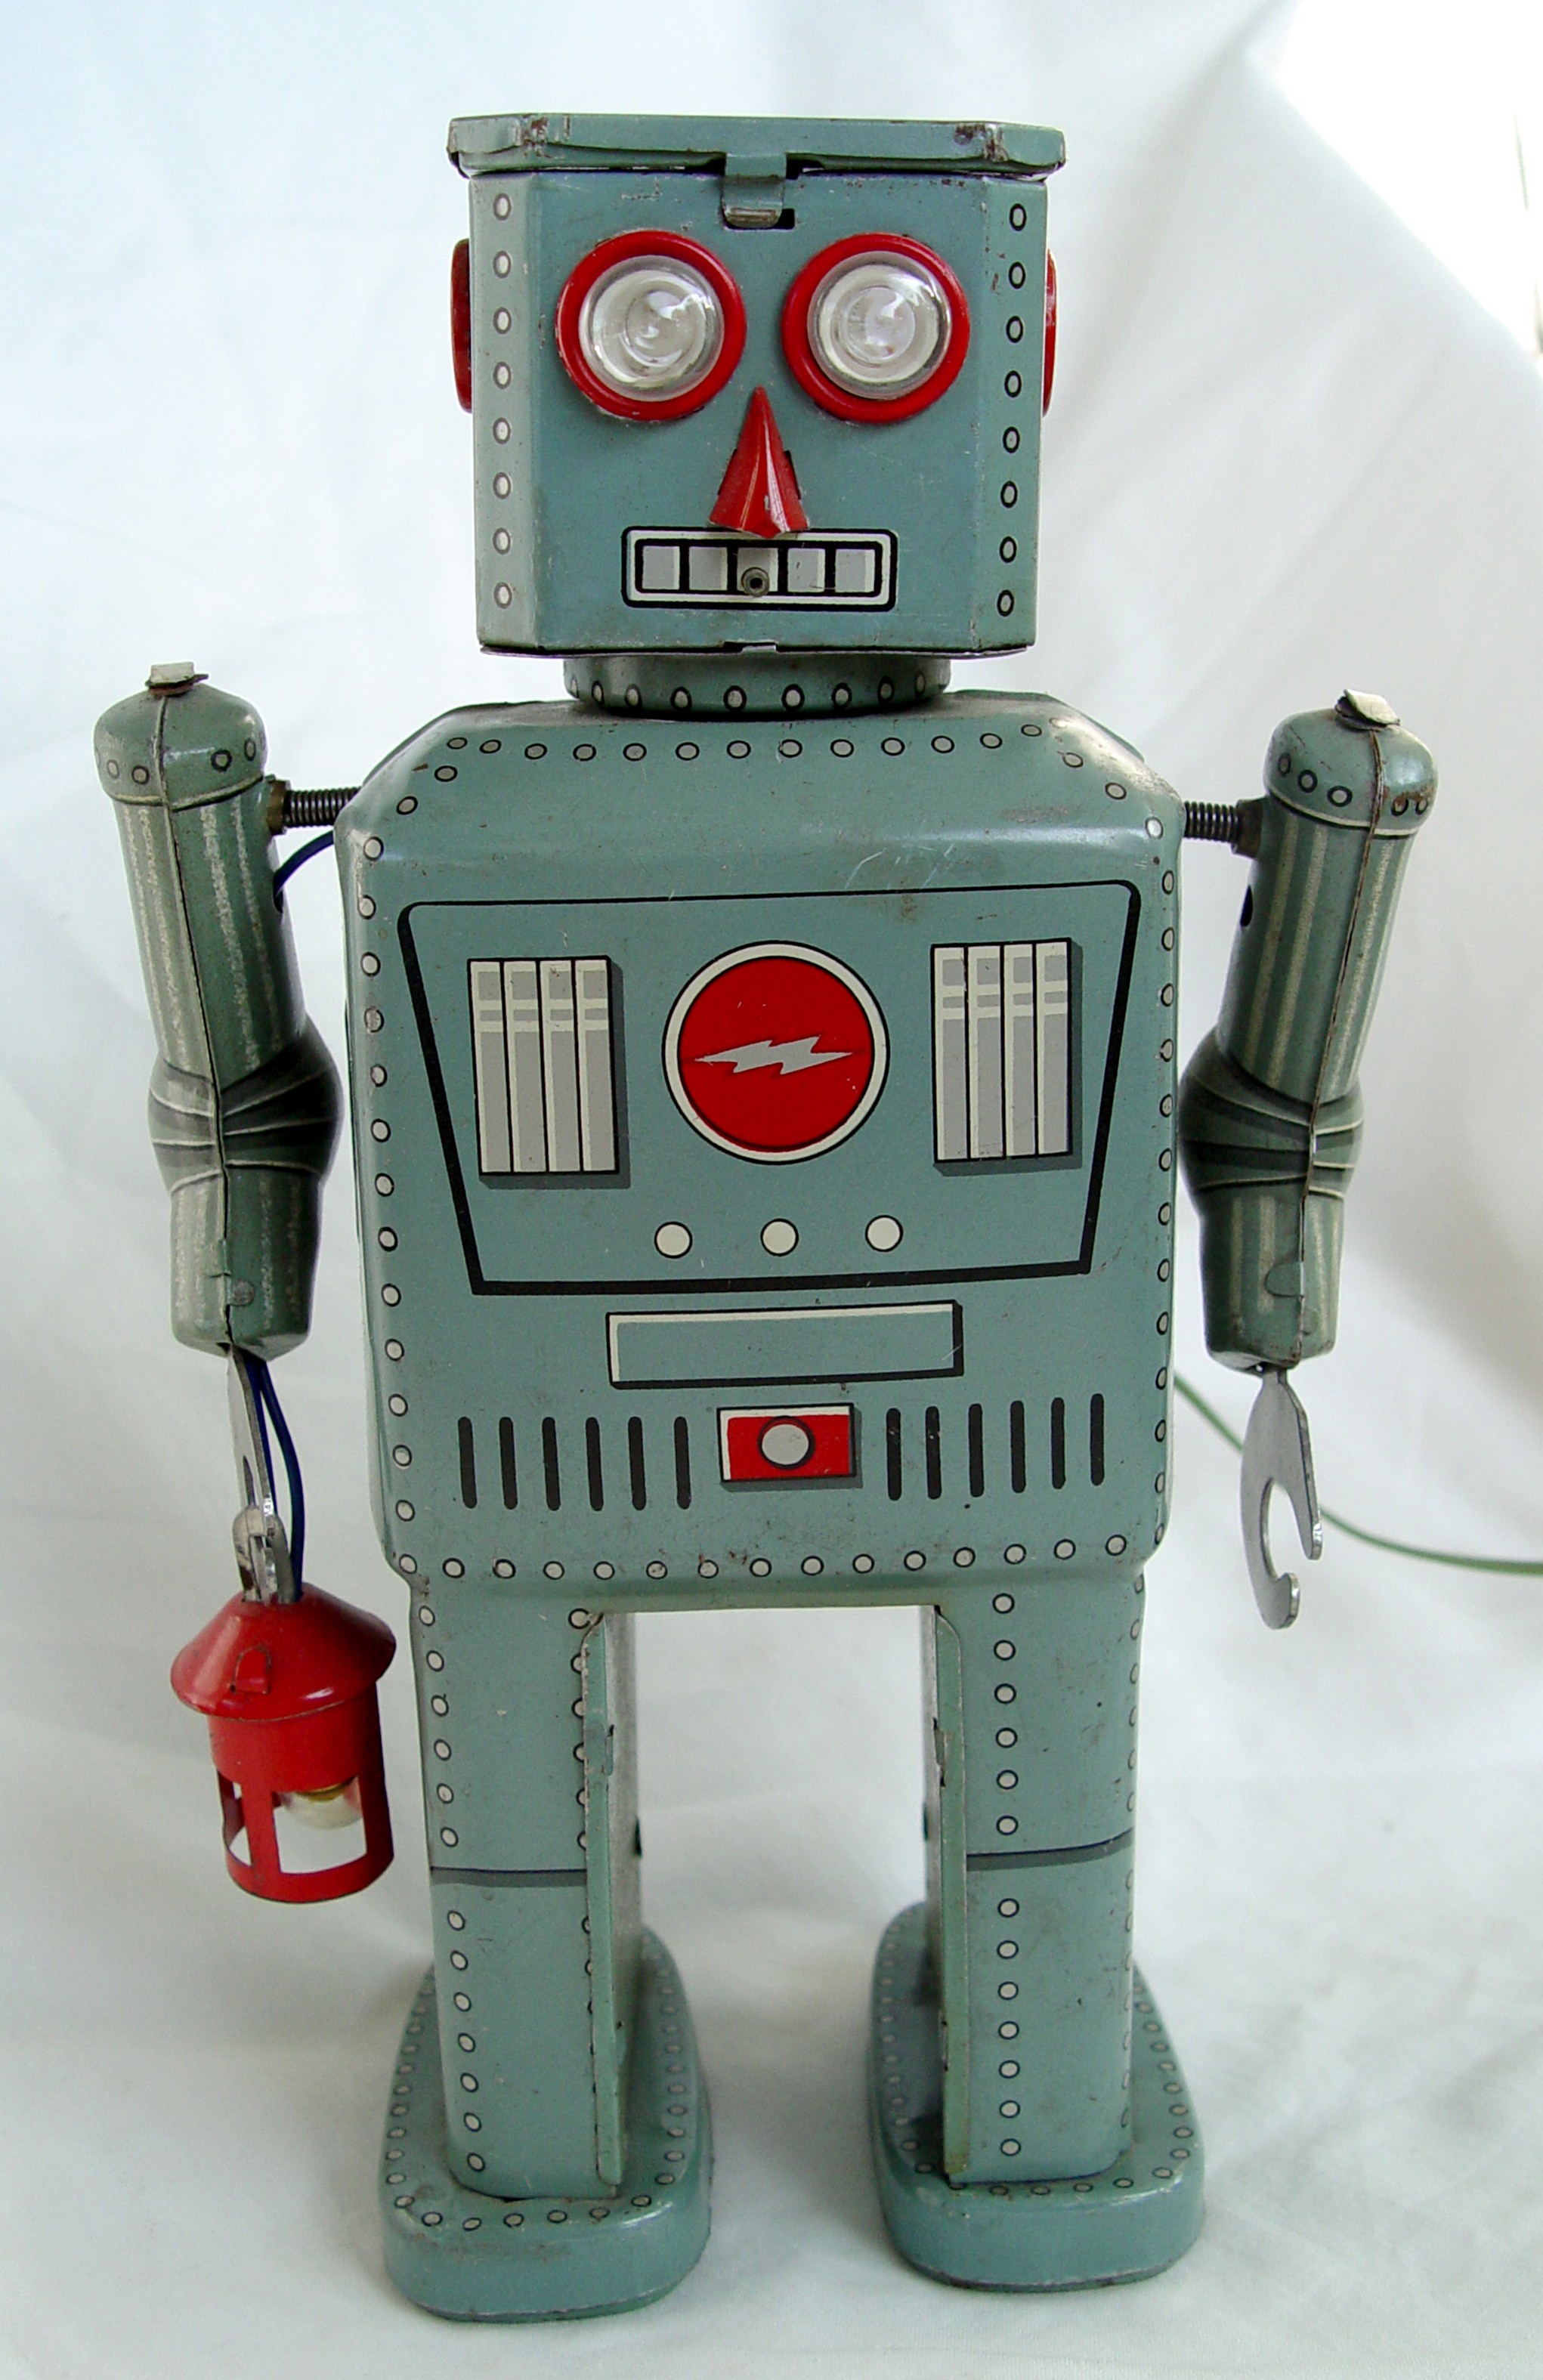
Ever wonder what it would be like to create your very own robot? I have and I’m willing to bet that every kid (or adult) has had that dream at least once in their lives. We all wanted our own personal robot, one to follow all of our commands. 
On Tuesday Jan. 24th, I got a taste of what that was like. Okay, so we didn’t make a robot quite like the one above, but we did make robotic cars using Lego Mindstorm.
Building:
So basically we use the Lego Mindstorm kit and these directions : Directions for NXT to create our very own robotic car that we would eventually program. After the grueling process of finding all the right pieces and following the directions, he was made. And he was awesome. Our next step was wiring him up. We places two phone wires into Port A and Port C (in the robot’s “brain”) connecting the ports to the wheels. This would assist in the programming.
Programming:
Next was the programming. In order to properly program we needed to use LabView, a program already loaded into our computers we were using that day. We also had instructions that told us exactly how to use the program: LabView Instructions. This program allowed us to tell the car exactly what to do. After getting the hang of it, we made the car do silly things using functions such as lurch, snake, and swerve. My favorite was lurch. We even made the car go in circles.
With this program we can change the speed of the wheels, the direction of the wheels, even the sound we wanted it to play while moving. There was little we couldn’t do with this machine. It was fascinating. By changing one wheel to go forward and one to go in reverse, we made the car do jumpy circles. In light of this we learned that if we made both wheels go forward and change one wheel to go faster than the other it will do more sufficient circling.
Another interesting thing I learned was that we could upload the program to the robot’s aforementioned “brain” and unplug him from the computer to let him roam wherever he desired (or wherever we told him to).
The last piece of programming we did was to have LabView figure out the distance the car moved. Using the cars dimensions we use this predetermined function to figure out the distance. All the info we needed was the diameter of the tire, the amount of time it moved, and the speed in which it moved. The diameter was .17 m, the time 1 second and a power level of 50%. The program calculated that the car had moved 28.7 centimeters. When we measured the distance with a ruler we got 30 centimeters. We were only off by a little due to human error which gave us a percent error of 4.4%.
Final Thoughts:
All in all this was a fun project to work on, a little tricky at first, and I am in no sense a pro at it, but with practice and time there’s no telling what can be accomplished.
I love how you added your own spice to this blog with pictures, humor, and categories for each topic discussed. I also find it helpful that you explained the robotic exercise in a casual way because it was a complicated lesson.
You were totally awesome with this project, you made that little robot do some really silly things because you were paying attention. I also dig the robot picture.